

The internet has been having a ball over the “landlord’s special” – a running not-joke because it’s absolutely true, it’s an ongoing laugh at the shoddy work that landlords do between tenants, mostly dealing with how they paint over everything rather than properly removing fixtures and trim or even just taping things off.
I think landlords got this idea from RV manufacturers and remodelers. If you ever want to lose confidence in the safety of the general public, look behind the walls and under the paint of a house or an RV that has been “remodeled”. Or, hell, look inside a brand new RV! Remodeling pretty much anything is just spending a whole bunch of days going “but why would you DO that?!?!” all day long.
I knew, when I bought The Transit, that it was going to need a lot of work. This is not my first rodeo, and the previous owners were up front about the circumstances. This RV had just started being remodeled when it was sold to the previous owners, who had owned it for only a few weeks before they needed to sell because of a family emergency. It had clearly been painted white in a hurry to sell while various sections were half-finished.
I could have just painted over the sloppy white paint, but I really wanted this to look nice so I chose to paint properly. So I removed all the fixtures and stripped the old paint before applying my paint.
I had stripped paint before, on my old school bus. That was a professionally applied external vehicle paint that I had to use a special stripper meant to take the paint off airplanes. That was somehow still easier than getting rid of the paint in The Transit. I should have taken more pictures of the stripping process, but we spent so many hours painting goop, then scraping, then painting more goop, then scraping, that I only got a couple of photos, mainly because something else was going on and the stripped cabinets happen to be in frame.
Such as…
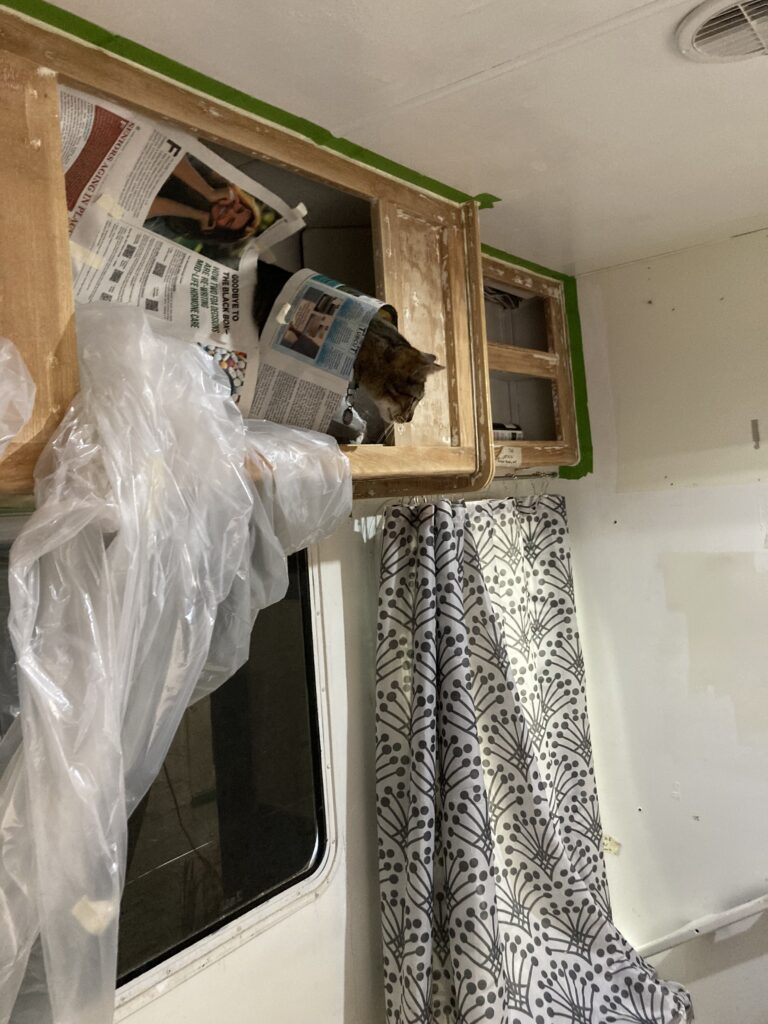
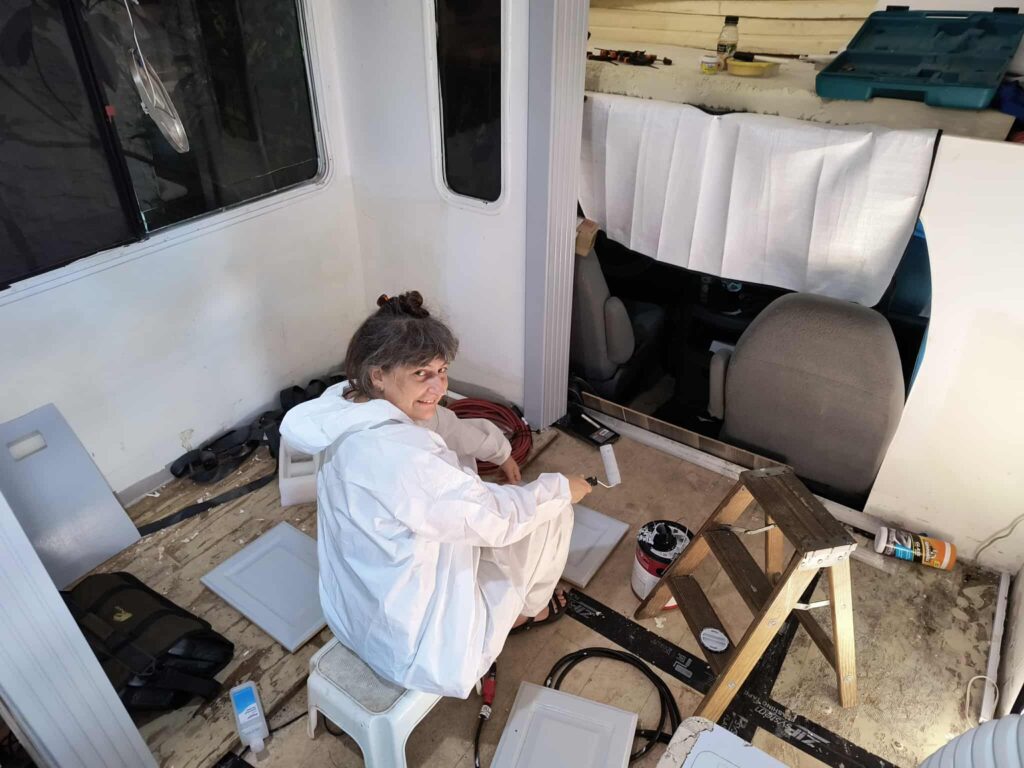
Cookie enjoyed exploring the newly emptied and stripped cabinets. The newspaper and plastic is in place because I had intended on using an air sprayer to paint, hoping for a more professional finish. But I never got the sprayer to work properly and I ran out of patience so I painted everything with foam rollers to avoid brush strokes.
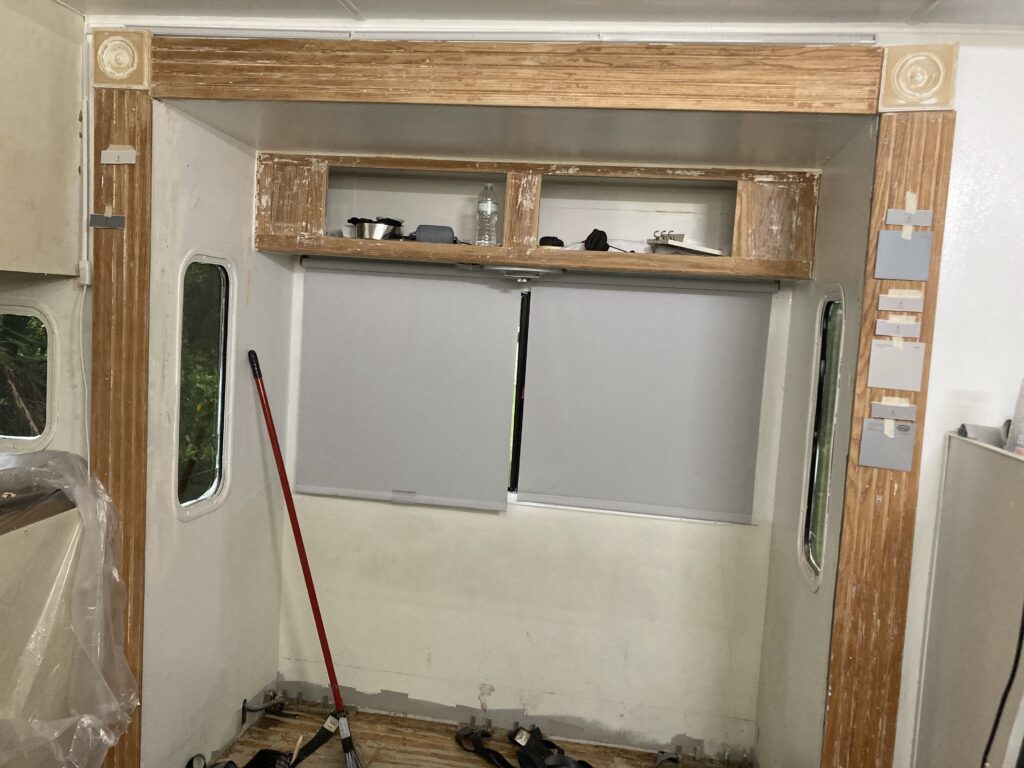
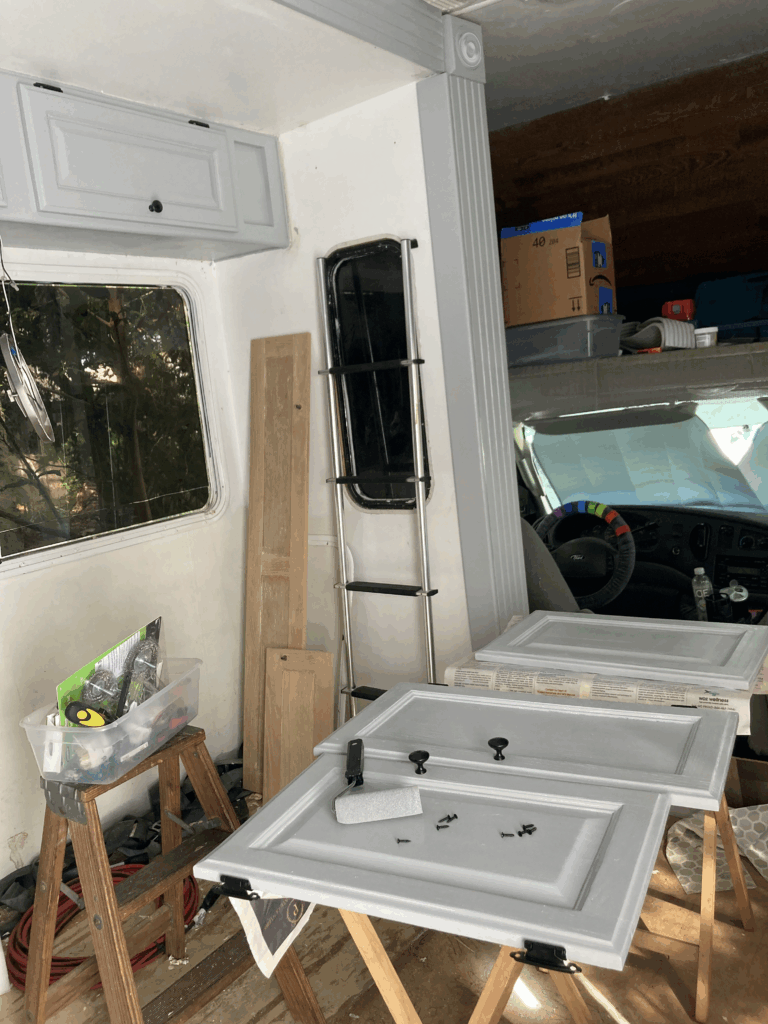
Here is the slide-out arch with some of the paint chips to help me pick a paint color:
My color scheme for The Void, my current RV that I’m still living in, was a monochrome ombre marble look. Meaning, that I put in black marble floors, the cabinetry was a dark ash grey wood vinyl paneling, the walls were a very light grey, and the ceiling was white, while all the surfaces was white marble with grey marbling. The interior went from dark on the bottom to light on the top.
I thought this was a clever and simple color scheme. In reality, this is how The Void got its name: with the black floors, and all my black clothing and the low wattage of RV lights, anything that got dropped in the RV disappeared, sometimes forever. Franklin bought a whole bunch of fancy tea samples on his first day in town and we still haven’t found them, 3 months later.
I still like the idea of this color scheme, but I now know not to make the floor of an RV dark. I also really love how all the marble surfaces came out and I want to keep that. So this time, I’m going with ash grey floors, white walls, and a light grey for the cabinetry and trim. That way, the marble surfaces will still match and I can add color accents to keep it from being too sterile.
The walls are going to be finished with an insulating foam wall covering, so only the cabinets and trim needs to be painted. First, I had to choose a grey.
Conscious of the mistakes I made in The Void, I wanted light colors but not so light that you couldn’t tell it wasn’t white unless you were looking directly at a spot where the grey was up against the white. I chose this Behr grey that I felt was light enough to keep the bright feeling of the room but just dark enough that you can see that it’s grey. I also chose a high gloss finish that I think will contrast nicely with the soft wall coverings that I still have to put up.
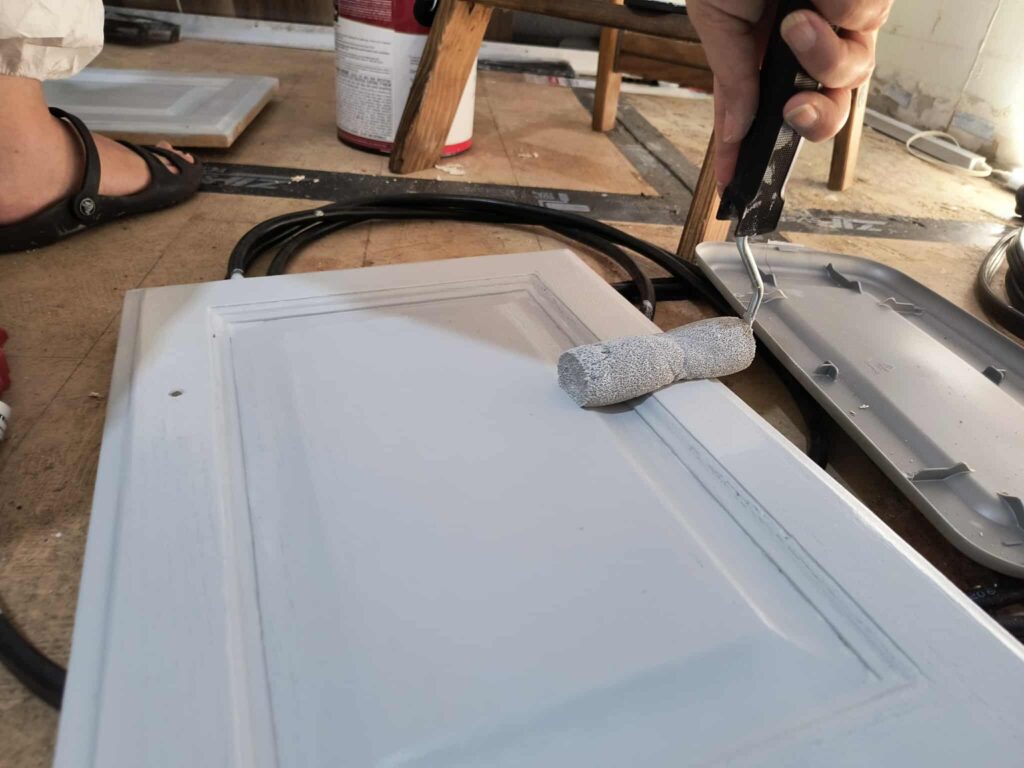
David remembered to take some pictures of the painting process.
No brush strokes with the foam roller!
Here we have the first coat finished on one of the cabinets. On the right, you can see the raw edge of the cabinet that prompted my purchase of the edging that I used for the stove cover legs. I’ll feature that process in its own post.
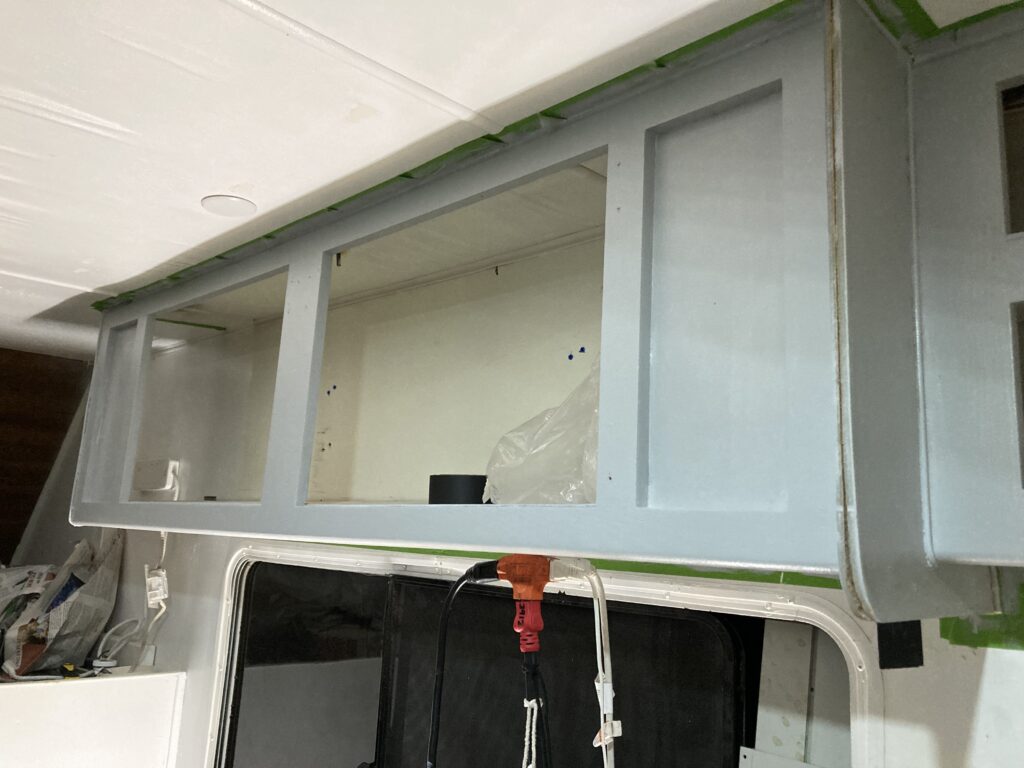
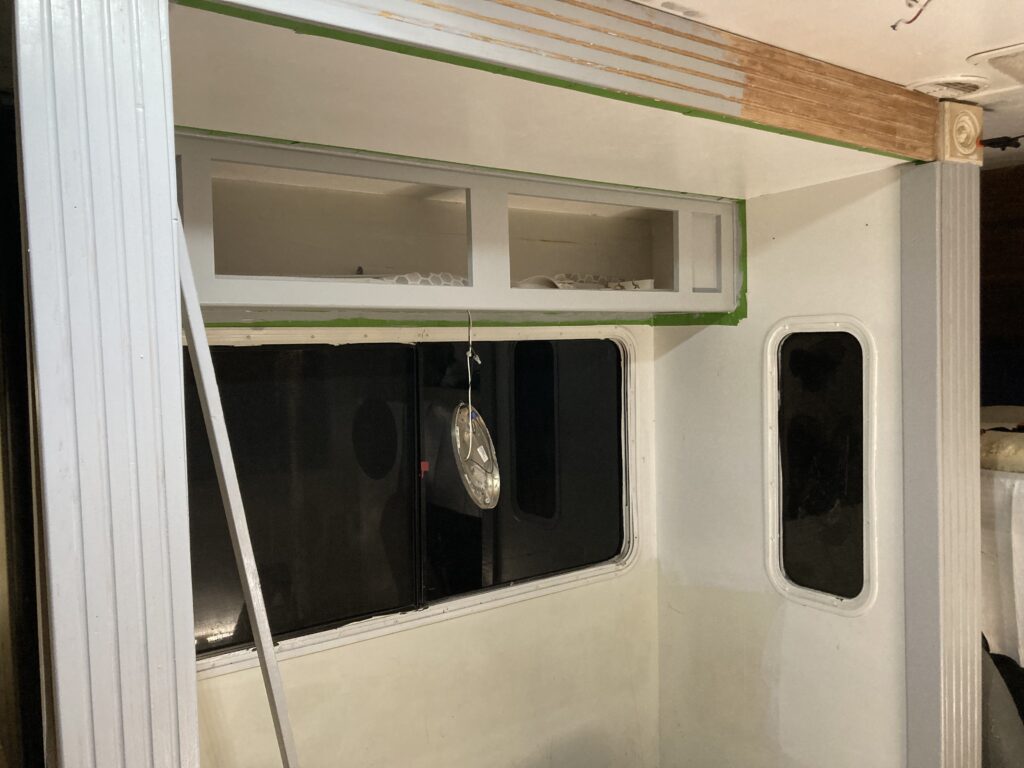
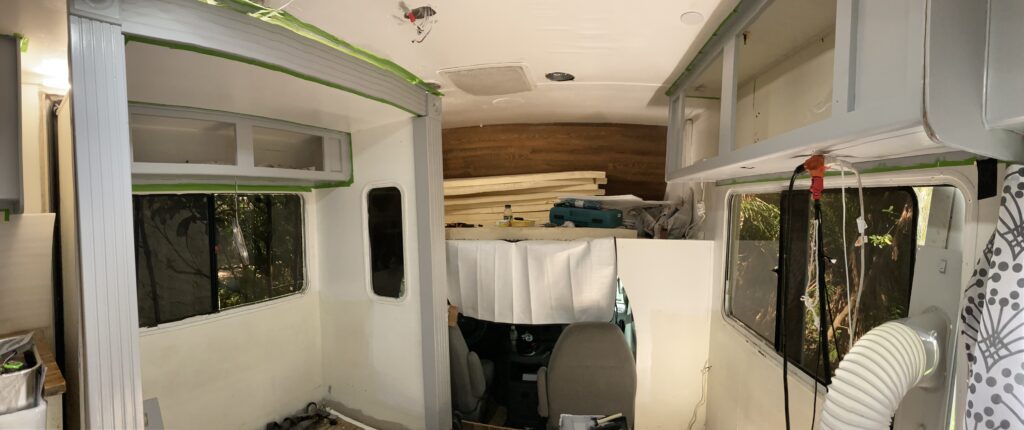
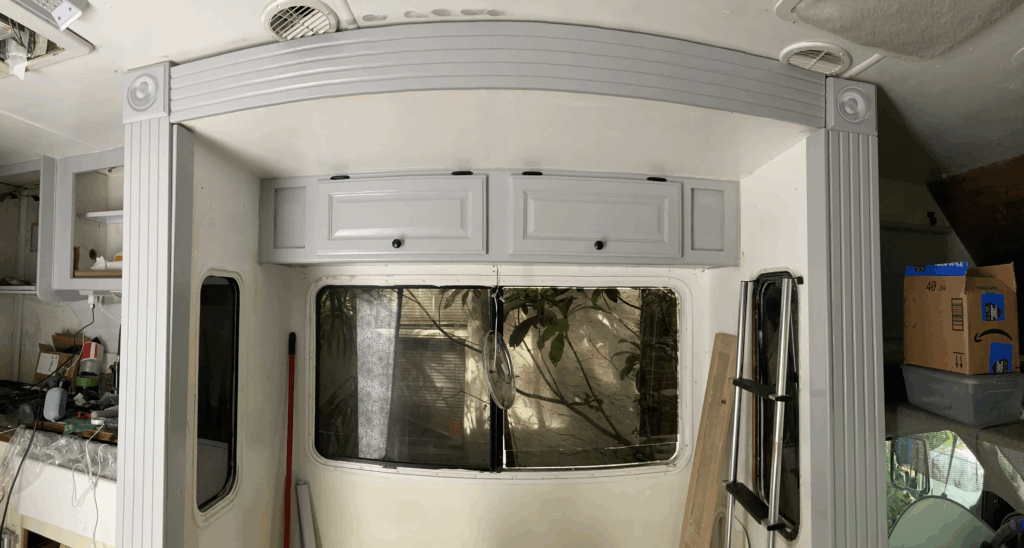
It is such a big difference in here with both cabinets and the slide-out trim painted nicely!
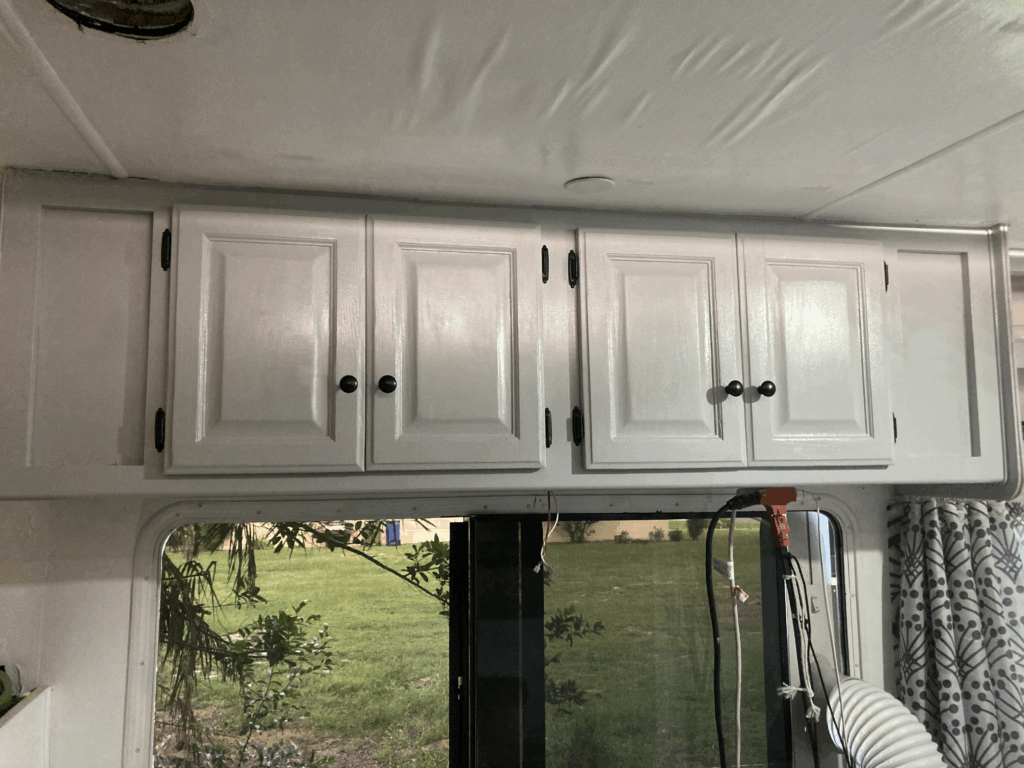
Painting the doors and installing the door hardware:
The living room slide-out cabinet and trim:
The cabinet above what will eventually become the dining area:
I’m happy with the outcome so far. I’m debating whether or not to finish with a clear topcoat or not (it isn’t necessary for the style of paint I used but it almost never hurts). I think it would add more gloss, which I would like. I think I’ll finish painting the whole thing first and then see how much time I have left.
These empty panels used to have ornamental mouldings that had to come off in order to paint. We tried stripping the paint off the decorations to re-paint them, but they were too detailed to get all the paint out of the crevices. It would be much easier to just pry them loose and replace them.
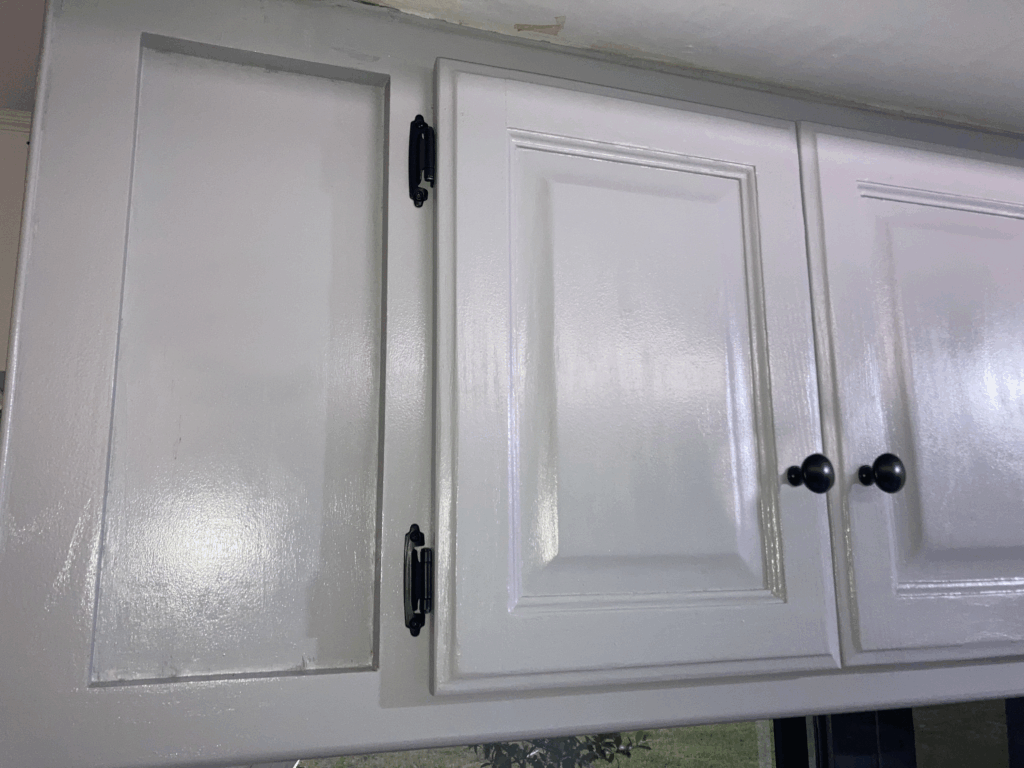
The whole decor had a vaguely floral motif with some little circular flowers on blank panels and trim corners, and some longer flowers and vines on the cross trim of the slide-out arches and wider blank panels. Flowers are not really my thing. I would have left them as just part of the cabinetry but since they turned out to be so easy to take off and also necessary to remove for the painting, I decided to replace them entirely with a design that is more “me”. But that’s another post.
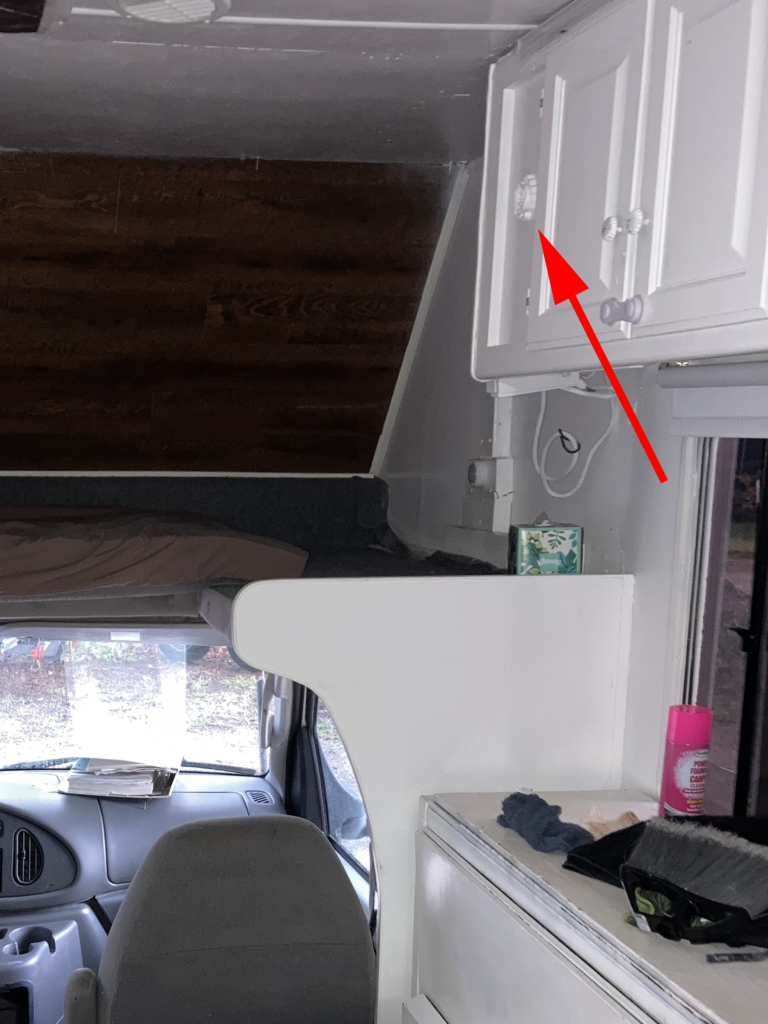
I’m also going to change the hardware. The black hinges are fine, but the doorknobs are all going to be different. And that is yet another post!