


It’s the little touches that really make a room. Things most people never think about, like door hinges and threshold strips, and cabinet drawer pulls. But I think of these things. I have a kitchen design in mind for the next time I have a real building to live in that is designed around the drawer pulls because I saw these pulls one day and I thought they were so beautiful and elegant, and I had to have them.
So now I’m designing my new RV, and it’s all marble and grey with iridescent accents. What on earth am I going to do for the little things? And how can I keep it in my budget? I have, as they say, champagne tastes on a beer budget.
While painting my cabinets, the next step is to start thinking about the hardware. Do I want black hinges, chrome hinges, bronze hinges? What will go best with everything else? And the door knobs? Unlike a house, where most of the cabinets are in the kitchen, which is a separate room and can be decorated independently, the cabinetry in an RV can extend throughout the vehicle. So things like hinges and door knobs can really tie the decor together.
I spent DAYS window shopping online, looking for cabinet drawer pulls that matched my decor. I started out looking for marble knobs but at a minimum of $3 per knob, fancy white marble knobs started to exceed my budget pretty quickly.
Then, the algorithm did something. It knew I was looking for cabinet drawer pulls. It also knew that I frequently buy cat supplies. It also knows that I am easily distracted by adorable cat novelty items.
So it showed me a cat paw door knob.
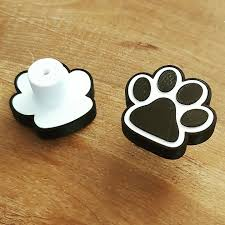
What?! That’s adorable! So I searched for more cat paw knobs…
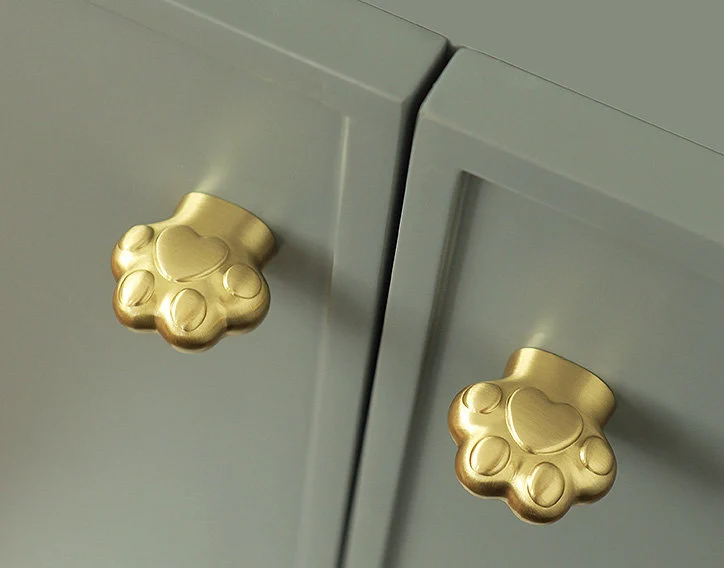
… and found several adorable options…
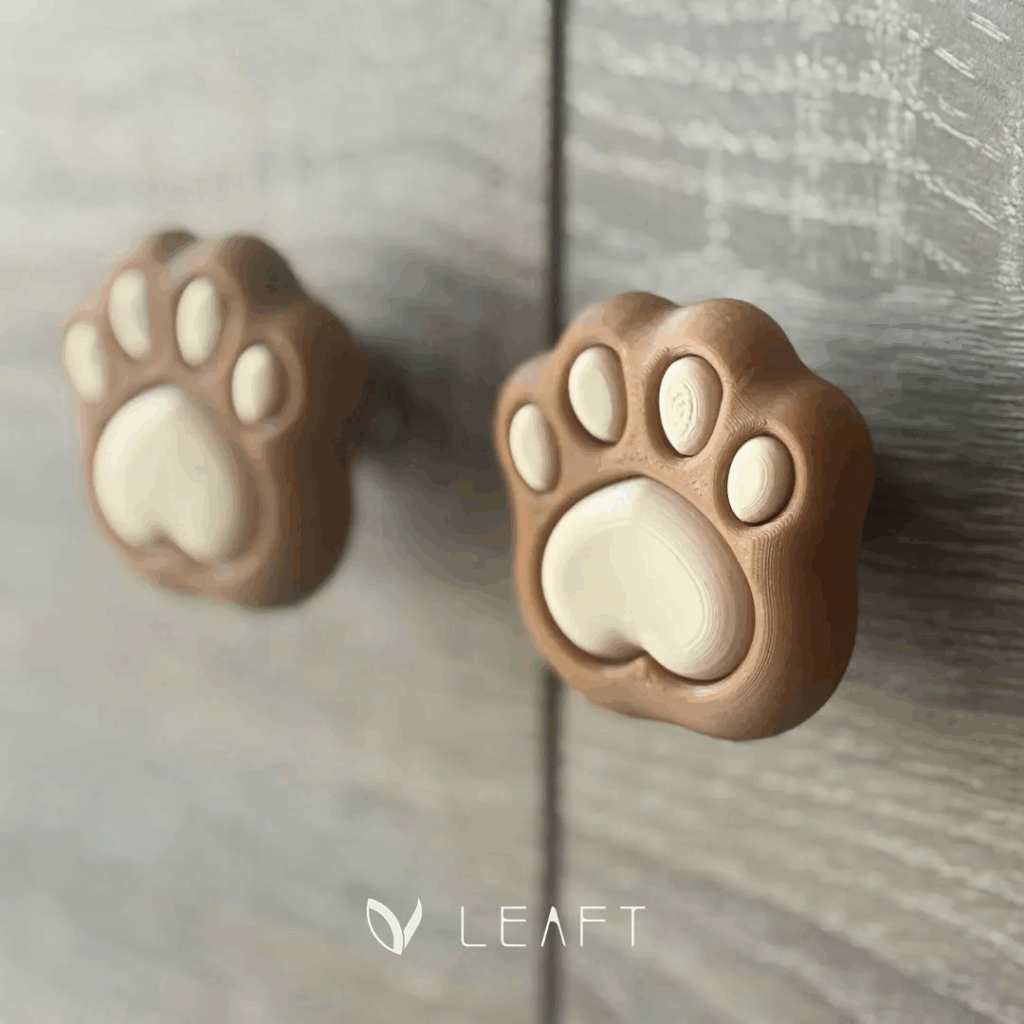
But none of them were quite right. They were all adorable, but none quite matched my color scheme or my goals. With the recent success of the ornamental mouldings, I asked Franklin if he could design and print some cabinet door knobs for me.
The answer is … sort of. He could absolutely print an object that was the right size and shape for what I was asking. But we had 2 concerns: 1) the material that is used in consumer printers is a relatively low heat thermoplastic that tends to be pretty brittle, and 2) the math involved in computer-generating a column with a spiral that matched the threads of existing bolts seemed way beyond either of our abilities.
After brainstorming for a couple of days, I came up with the suggestion of embedding an existing door knob into a paw made of silicone, which could be poured or fitted around the knob, and he could 3D print the mold for the silicone paw.
I was envisioning something like those old rubbery-plastic coin purses that had a slit across the face and you pinched the purse to open the slit and therefore access the contents.
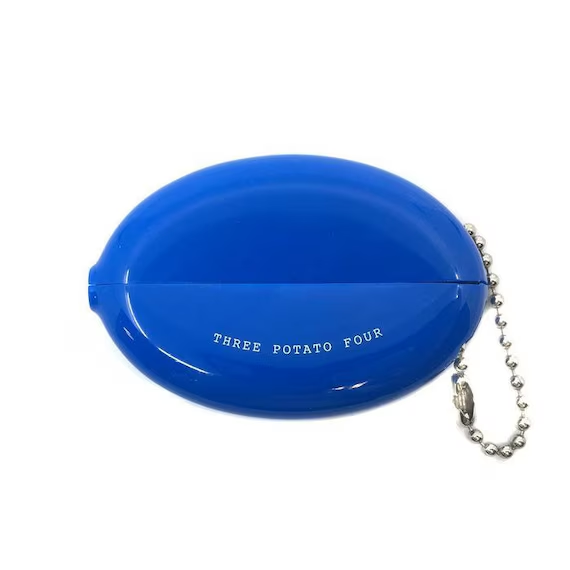
Franklin came up with a couple of designs, but I really didn’t want anything too cartoony. The paws I saw above were adorable, but more for a children’s room. Next to the photo-realistic sleeping cats, I didn’t think a cartoonish door knob would work.
We settled on 2 possibilities and decided to print the molds and pour the silicone for both, just to see how they turned out. One would be sort of a cover for the head of a knob that could hypothetically be removed, and the other would require fully embedding a knob into the silicone permanently.
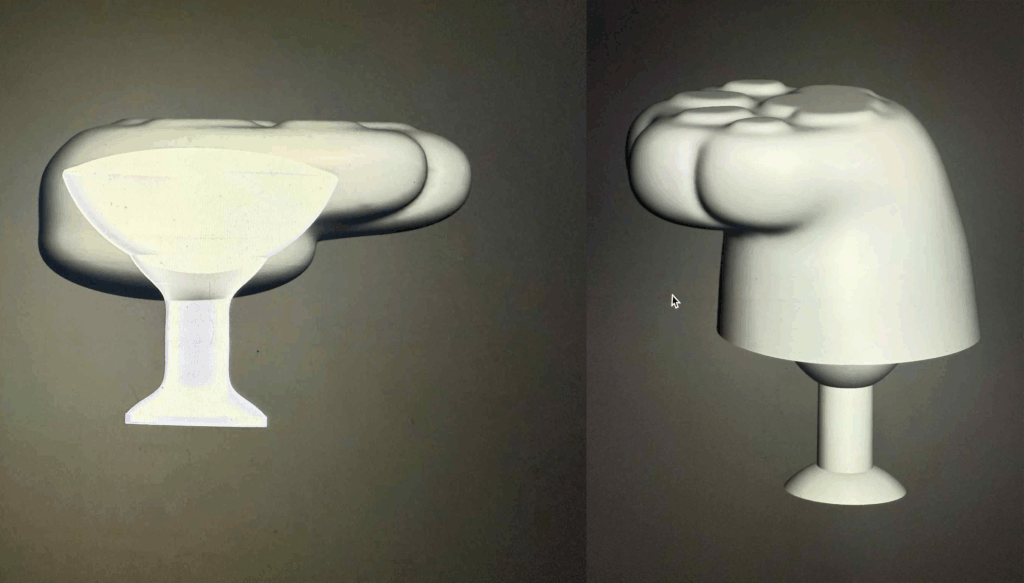
Surprisingly, they both came out even more adorable than I expected, but there was a clear winner:
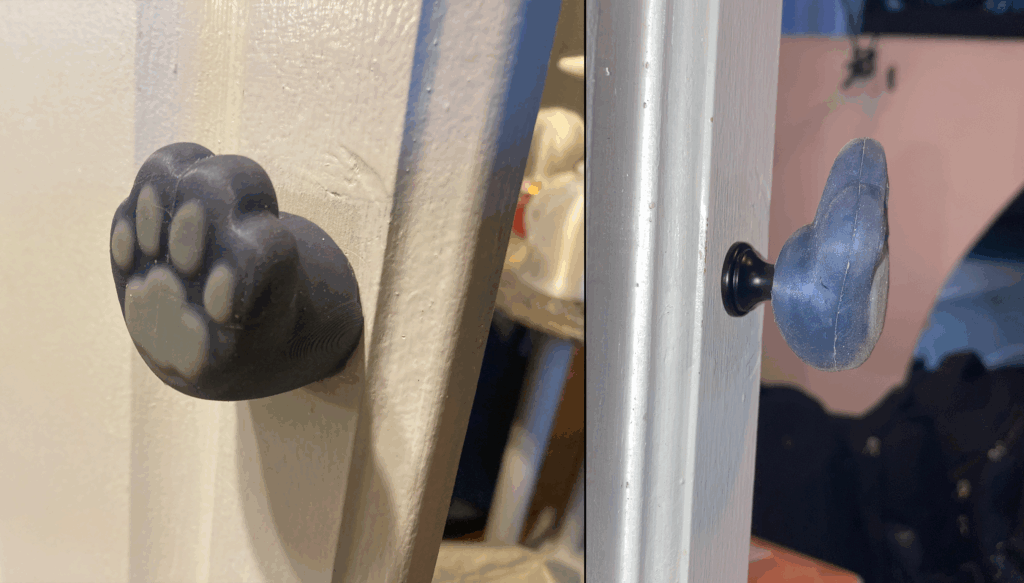
The full paw looked more lifelike and therefore more adorable than the knob cover. The tiny little stem of the knob sticking out the back made it look just a touch more cartoonish, and then we tried to remove the paw from the knob.
Because the silicone was poured into a mold and then the knob was held suspended in the silicone while it cured, there was not a long slit in the back that I had envisioned as the method for opening the paw to insert or remove a knob. The hole in the silicone fit snugly to that skinny little stem. It took an enormous amount of effort to pry the knob out through that little hole, and it was almost impossible to hold that hole wide enough to insert the knob back in.
Between that obnoxious amount of effort and the more appealing look of the other, I decided to go with the full paw.
But what color to make it? In the test pour, I had already considered colors and tried mixing 3 metallic mica powders into the silicone to match the tri-colored color-shifting filament used in the sleeping cat mouldings.
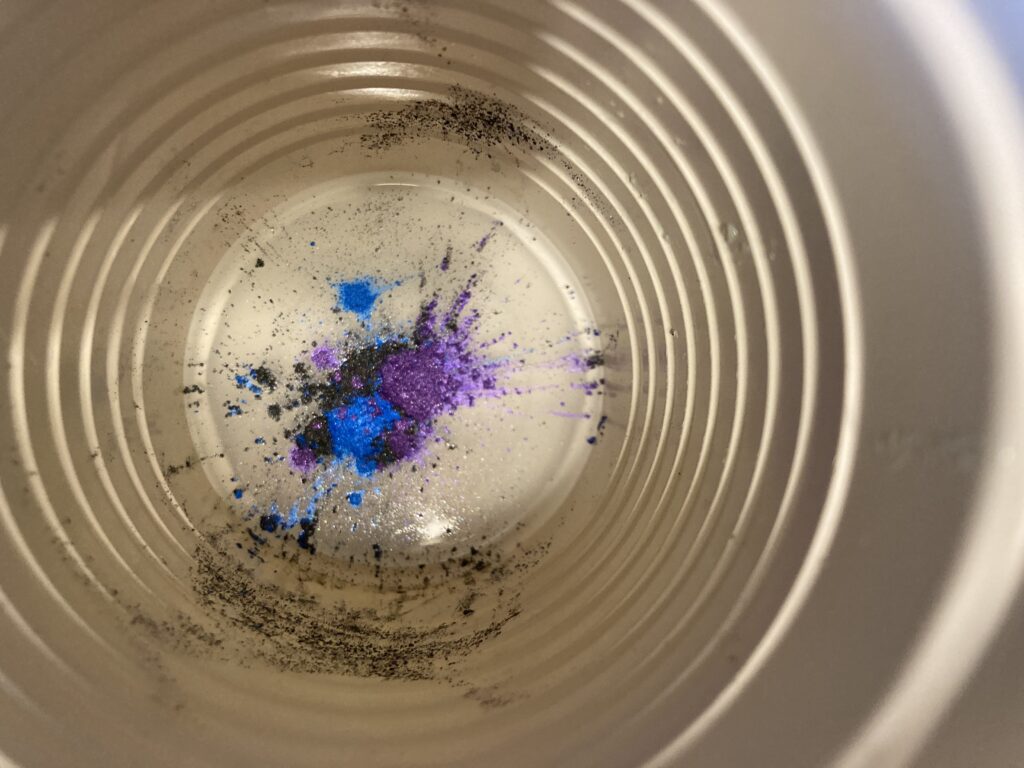
But mixing these 3 vibrant colors together resulted in this rather dull dark bluish-grey color. It was … fine. It was acceptable, but not what I was looking for. Next to the sleeping cats, it was kind of a disappointment, especially after my initial elation at the adorableness of the design.
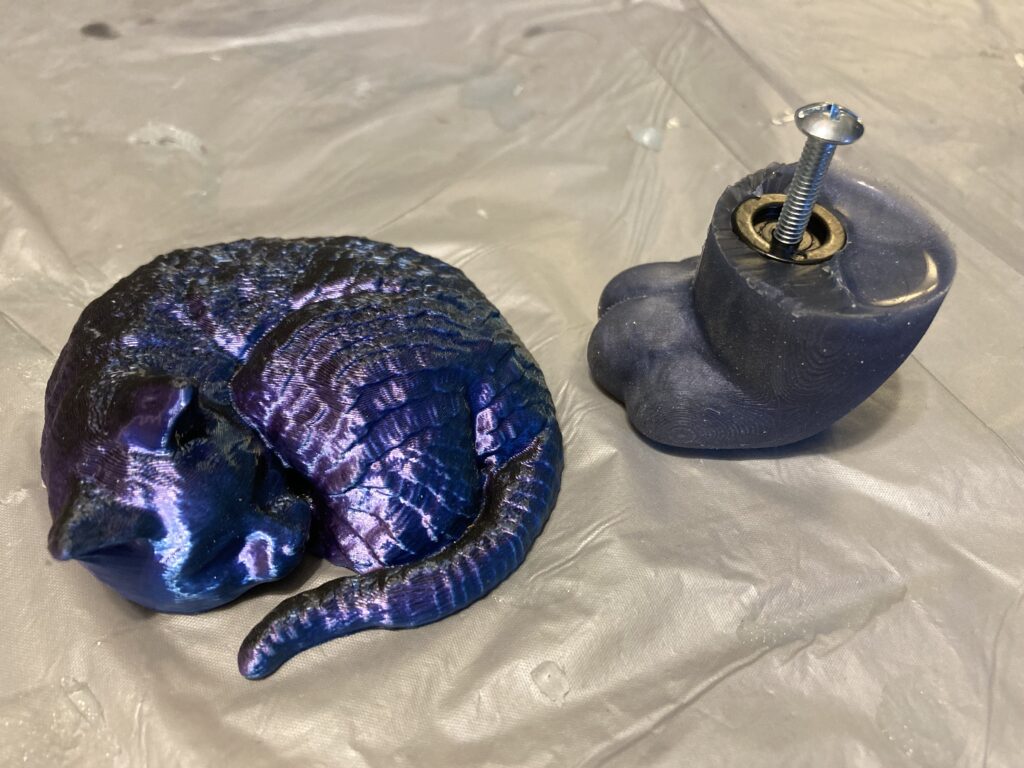
How was I going to get that amazing iridescent look? I thought, and I considered, and I read stuff online, and I brainstormed, and I just couldn’t come up with a solution.
So I asked Franklin to try designing a 3D printed knob in spite of the problems we discussed. But I got impatient and kept looking for solutions in silicone. Then it hit me – why don’t I search for chameleon powder specifically? I looked for blue / black / purple chameleon mica powder and it turns out, that exists!
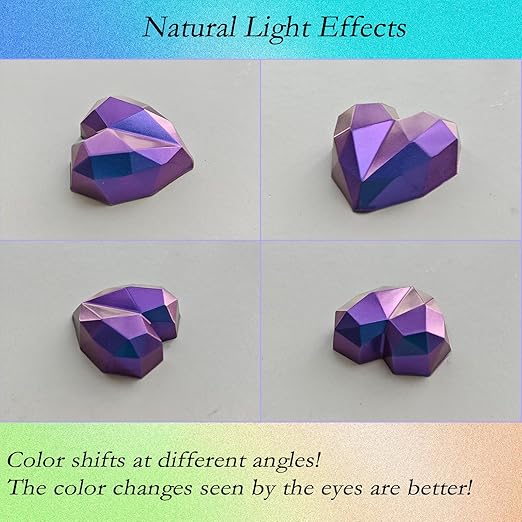
Mica powder is used most often in resin doo-dads and in acrylic nail colors and eye shadows, but all the same colorants and pigments used in those processes also work in silicone. While researching color-shifting pigments, I also discovered a coloring technique that is very different from the method Franklin taught me for his silicone toys.
Franklin had me adding liquid or powder pigments directly to the silicone, the same way I would add color to cupcake frosting. But color-shifting mica powder loses a lot of its effect when the mica granules are embedded in the silicone.
Instead, most artists will apply the powder directly to the sides of the mold and then pour their medium into the mold, or they will paint the acrylic on the nails and then rub the mica powder directly on top. This keeps the granules at the surface and allows the light to reach more of the granule surface, which then shows off the effect much better. The color of the medium under the mica will affect how the color-shift shows up.
So I tested it out – how does the chameleon powder look when mixed with the silicone vs. brushed on the inside of the mold and then having the silicone poured in behind it? Quite a big difference, actually.
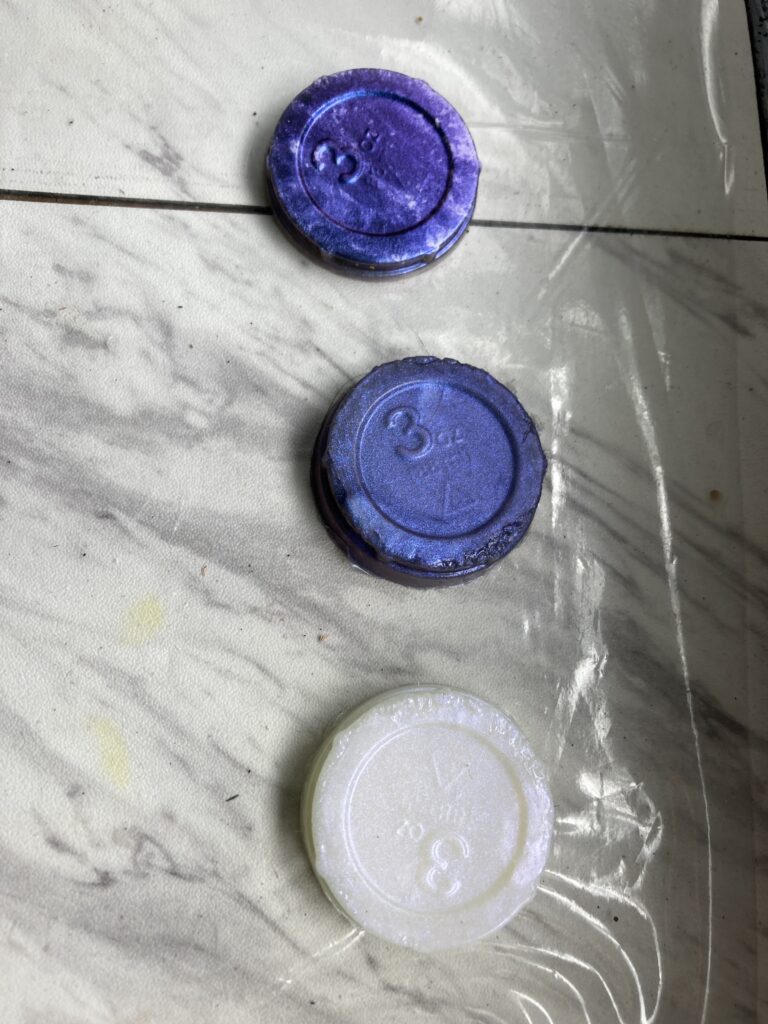
The bottom sample is the chameleon powder mixed straight into silicone with no other pigment. The middle sample is the powder mixed into a dark colored silicone, and the top is coating the mold with powder and pouring in a dark silicone. This one was the clear winner!
Next was to cast a paw and see how it turned out! First, I had to paint the toe beans grey and let those cure. After setting for 24 hours, I coated the mold with the powder and then poured in some dark purple silicone.
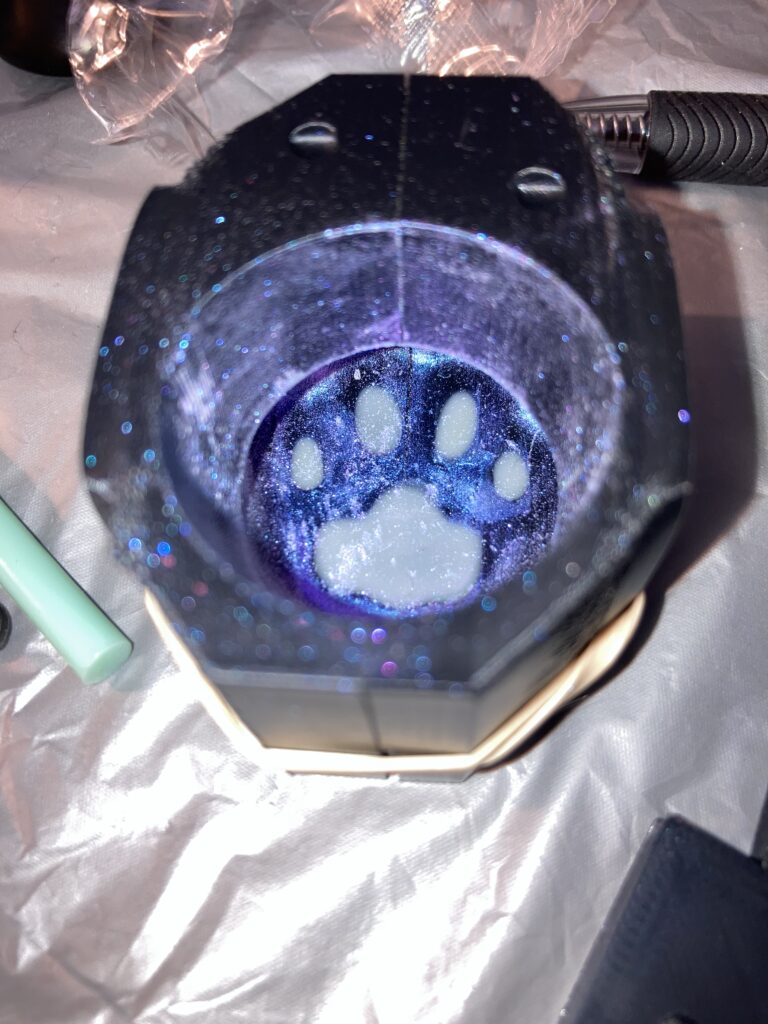
I’ll be honest, I really didn’t expect this to work. Even after the test, I thought that the multi-step process required to make different color toe beans, or casting in a bigger volume or the inside of the mold being so difficult to coat while closed, or something would make it not turn out very well.
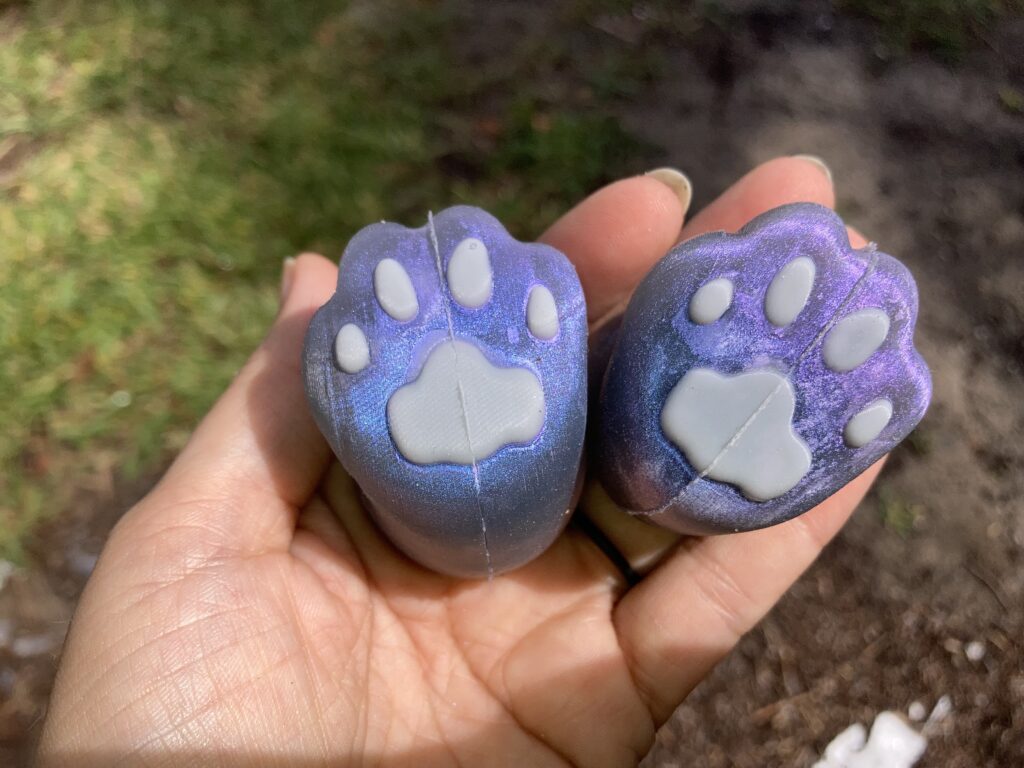
But they turned out amazing! Pictures and video really don’t do these justice. It’s very difficult to show the color-shifting unless you see it in person, but it’s really very neat.
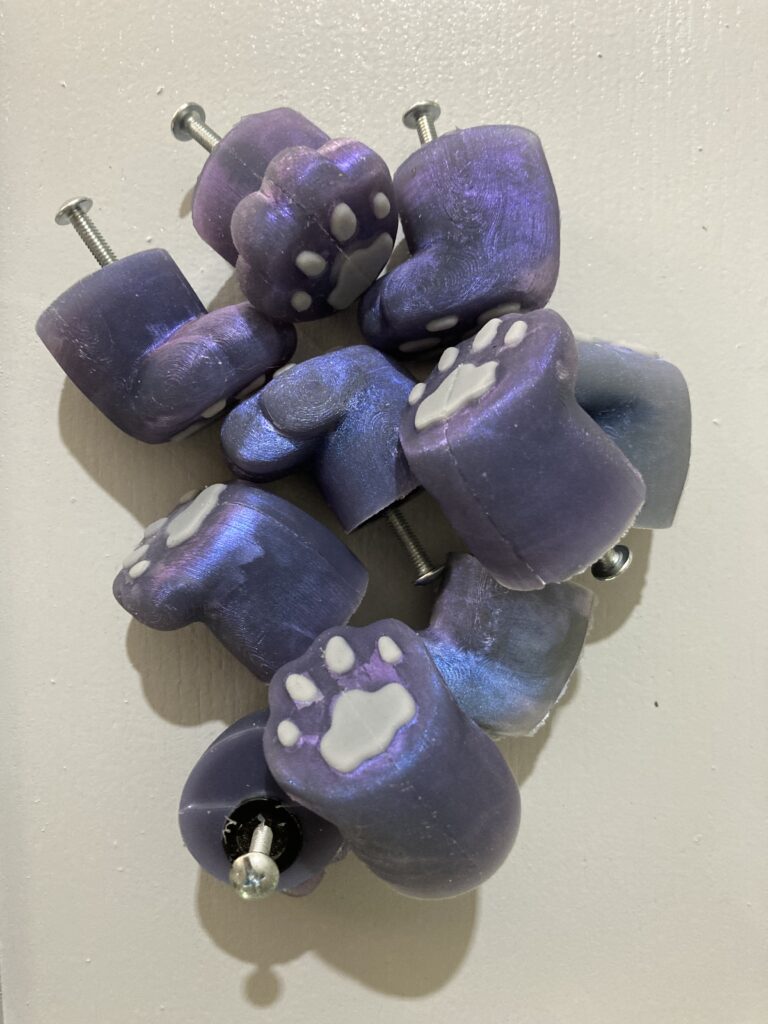
I cleaned up the seams a little bit and installed them on the cupboard doors, and next to the sleeping cats, the cupboards look fantastic!
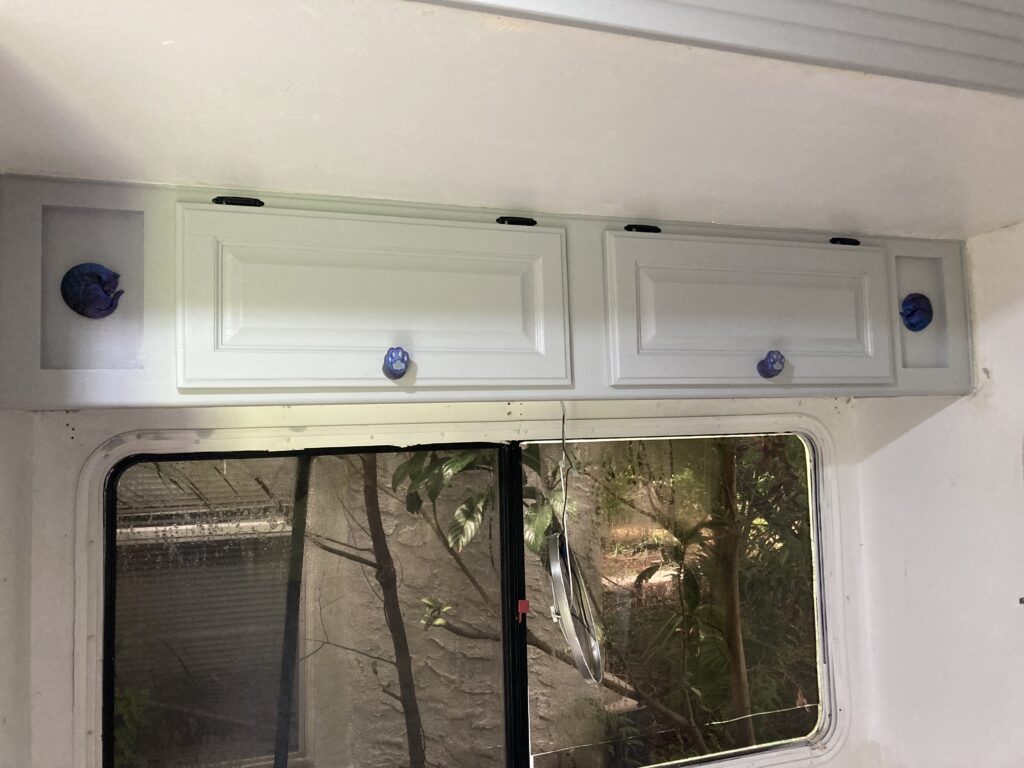
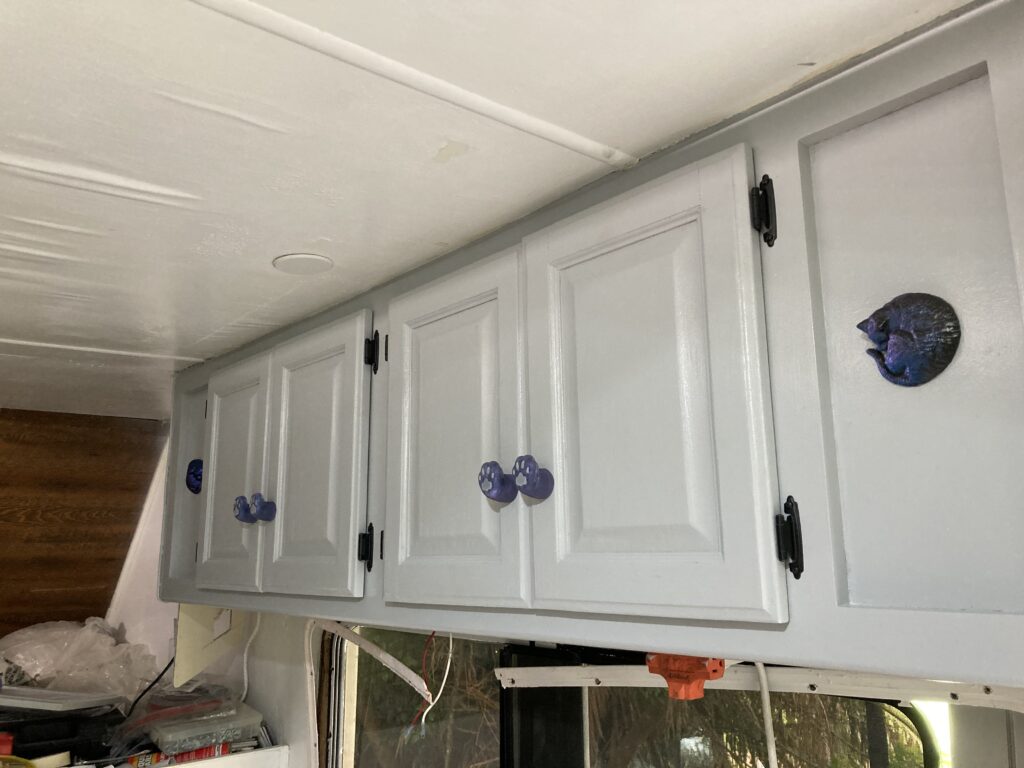
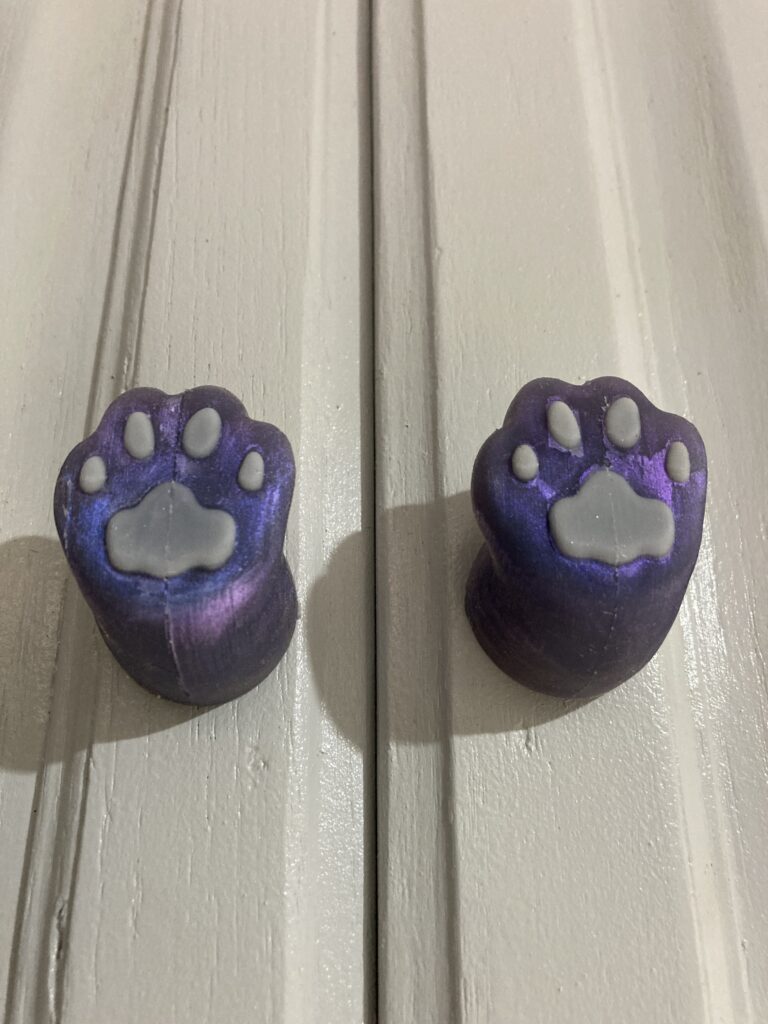
I am thrilled at how they turned out. Now if only I can get better at cleaning up seams! I need to make another batch for the cupboards in the bathroom and bedroom, but since I haven’t moved into those rooms to paint yet, I have some time. The paws are just a touch soft and squishy but still firm enough to function and they look great against the grey paint and next to the sleeping cats.
These paws turned out so well that I’d love to start selling them. Unfortunately, the amount of time it takes to make them means that I can’t really price them in a way that would pay myself a decent wage for the labor while keeping the cost to a price that customers would be willing to pay for them. If I can figure out how to reduce the labor hours, I will start selling these cupboard door knobs.
Until then, though, I have the most unique drawer pulls for The Transit! Sometimes, designing and making something by hand is worth the effort.